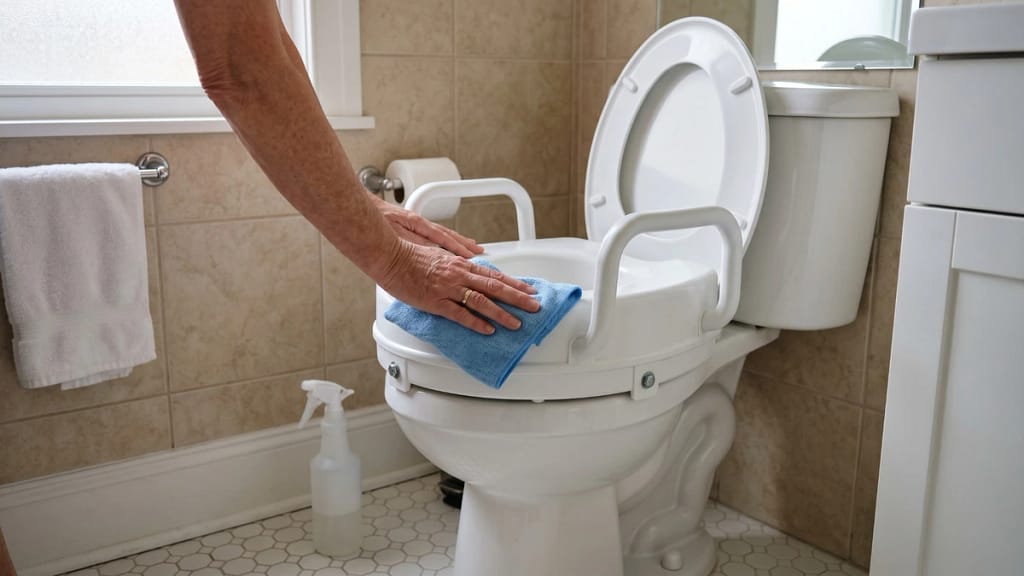
A raised toilet seat is used in one of the highest-contact areas of the bathroom, so regular cleaning matters. The top surface, underside, handles, clamps, and contact points can all collect moisture, residue, or buildup over time.
Learning how to clean a raised toilet seat is not only about hygiene. Cleaning also makes it easier to inspect the seat, check attachment points, and notice whether anything has become loose or harder to secure.
The right cleaning approach depends on the seat design, material, attachment style, and whether the seat can be removed easily for deeper cleaning.
Disclosure: As an Amazon Associate, I earn from qualifying purchases. This post may contain affiliate links. If you purchase through these links, I may earn a small commission at no extra cost to you. I only recommend products I would feel comfortable using in my own home. Learn more.
Quick Answer: How to Clean a Raised Toilet Seat
To clean a raised toilet seat, first check the product instructions, then wipe the surface with mild soap or a non-abrasive bathroom cleaner. Clean the underside, handles, clamps, knobs, and contact points around the toilet bowl, dry the seat fully, and recheck that it is secure before regular use.
- Clean the top surface and high-contact areas regularly
- Use mild soap or a non-abrasive bathroom cleaner unless the product instructions say otherwise
- Clean the underside, front lip, clamps, knobs, and handles
- Avoid harsh scrubbers that may damage plastic, padding, or rubber parts
- Recheck fit and stability after deeper cleaning or removal
A raised toilet seat should be cleaned often enough to prevent buildup, especially in shared bathrooms or when the seat is used daily. Deeper cleaning may be needed when residue collects around attachment points or under the seat.
Cleaning should always end with a stability check. A clean seat is not ready for regular use if it has been reinstalled unevenly or feels loose.
What to Clean on a Raised Toilet Seat
A raised toilet seat has more cleaning areas than a standard toilet seat because it may include added height, clamps, knobs, handles, or underside contact points.
The main areas to clean are:
- top seating surface
- underside of the raised seat
- front lip or splash area
- inner opening
- clamps or locking knobs
- hinges, if present
- handles or arms
- rubber feet or contact points
- areas where the seat touches the toilet bowl
The underside and attachment areas are easy to overlook because they are less visible. However, these areas can collect moisture and buildup, especially if the seat sits directly on the toilet rim or uses clamps around the bowl.
A complete cleaning routine should cover both comfort surfaces and support surfaces. The parts that keep the seat in place should be kept clean enough to inspect and secure properly.
Step-by-Step: How to Clean a Raised Toilet Seat
A simple cleaning order helps make sure the visible surfaces, underside, and attachment areas are all covered without loosening the seat unnecessarily.
Use this basic process:
- Check the product instructions first. Some materials, padded parts, or attachment pieces may have specific cleaning limits.
- Wipe the top surface and handles. These are the highest-contact areas and usually need the most frequent cleaning.
- Clean the underside and front lip. These areas can collect moisture, residue, or buildup even when the top looks clean.
- Clean around clamps, knobs, hinges, and contact points. These parts should stay clear enough to inspect and tighten properly.
- Wipe away cleaner residue if needed. Do not leave cleaner trapped around rubber parts, padding, clamps, or hinges.
- Dry the seat fully. Pay attention to underside edges and attachment areas where moisture can collect.
- Recheck stability before use. Make sure the seat is centered, secure, and does not rock or shift.
This process can be adjusted based on the seat design, but the final check should always be the same: the seat should be clean, dry, and stable before regular use.
Daily Cleaning vs Deeper Cleaning

Daily cleaning and deeper cleaning serve different purposes. Daily cleaning keeps high-contact areas sanitary, while deeper cleaning removes buildup from less visible parts.
A basic daily clean usually includes:
- wiping the top surface
- wiping handles or arms
- cleaning visible splashes or residue
- drying high-contact areas
A deeper clean may include:
- cleaning the underside
- cleaning around clamps or knobs
- wiping contact points around the toilet bowl
- removing the seat if the design allows it
- checking for buildup around hard-to-reach edges
Removal can make deeper cleaning easier, but it only helps when the seat can be taken off and reinstalled without creating a loose or uneven setup.
If cleaning requires frequent removal, it helps to understand how the seat is designed to come off. This guide on whether raised toilet seats can be removed easily explains what affects removal, cleaning access, and repeated setup.
A good cleaning routine should match how the seat is used. A shared bathroom or daily-use setup usually needs more frequent attention than a temporary seat used only occasionally.
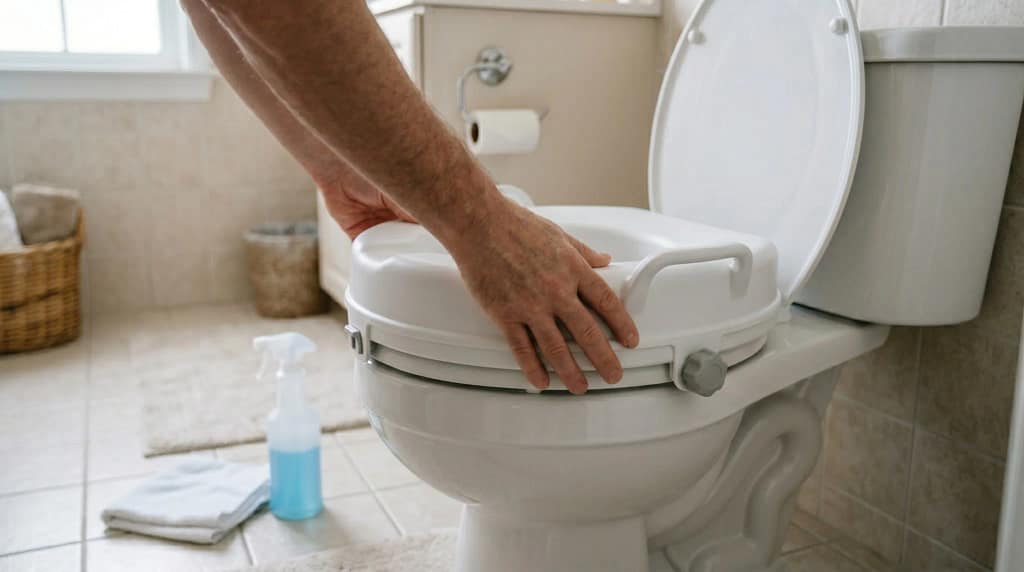
How to Clean Around Clamps, Knobs, and Attachment Points
Clamps, knobs, and attachment points need careful cleaning because they help keep the raised toilet seat secure. Buildup in these areas can make the seat harder to inspect, tighten, or position correctly.
Focus on:
- hand-tightened knobs
- side clamps
- locking brackets
- hinge areas
- rubber contact points
- underside edges near the toilet bowl
Use a soft cloth, mild cleaner, or a small brush if needed. The goal is to remove buildup without damaging parts that help the seat grip or attach to the toilet.
After cleaning these areas, the seat should be checked again. A knob may need to be retightened, a clamp may need to be repositioned, or the seat may need to be centered before regular use.
This is where cleaning and stability connect. This guide on how to secure a raised toilet seat properly explains what to check when attachment points need to stay tight and reliable.
Clean attachment points make it easier to tell whether the seat is still secure, which is why this part of cleaning should not be rushed.
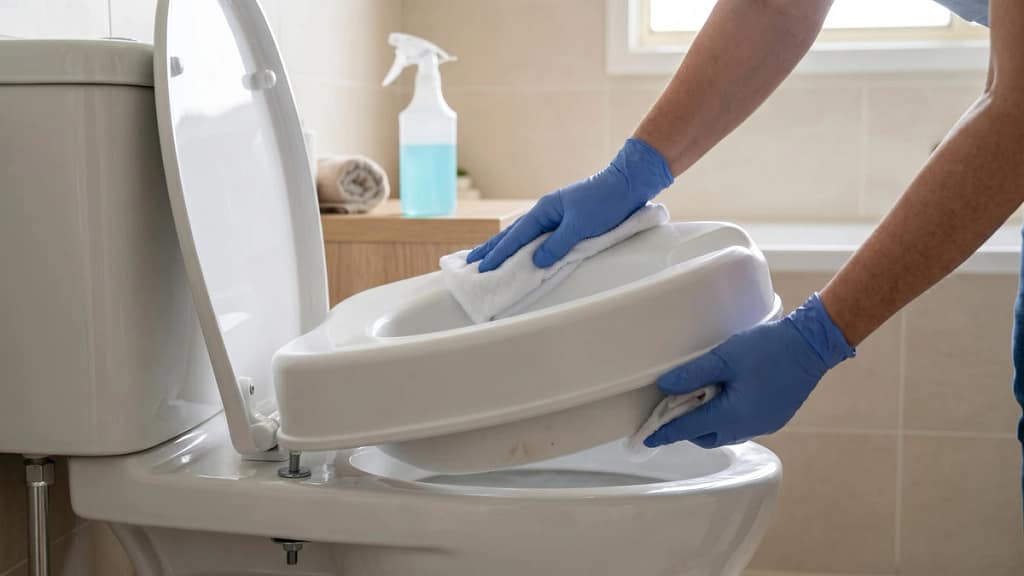
Should You Remove the Raised Toilet Seat for Cleaning?
Removing the raised toilet seat can make deeper cleaning easier, especially when buildup collects underneath or around the attachment points. It can also help in shared bathrooms where the toilet needs to be cleaned more thoroughly.
Removal may help when:
- the underside needs cleaning
- residue collects around clamps or knobs
- the toilet bowl rim needs better access
- the bathroom is shared
- the seat has visible buildup in hard-to-reach areas
However, removal is not always necessary for every cleaning. If the seat is difficult to reinstall correctly, frequent removal may create a stability problem if it is not centered or tightened properly afterward.
Some raised toilet seats are designed for easier tool-free setup, which can make removal and cleaning more practical. This guide on using a raised toilet seat without tools explains when no-tool designs make removal and setup easier without permanent changes.
If the seat is removed, the next step is just as important as the cleaning itself: reinstalling it correctly before it is used again.
Reinstalling the Seat After Cleaning
A raised toilet seat should always be checked after cleaning, especially if it was removed or loosened. Even a small change in position can affect how stable it feels during sitting and standing.
After cleaning, check that:
- the seat is centered
- clamps or knobs are tightened evenly
- the seat sits flat on the toilet
- there is no rocking or shifting
- handles or arms are still secure
- the user can sit and stand without the seat moving
How to check after cleaning:
Apply light pressure from the front, both sides, and the handles if present. The seat should not slide, tilt, lift, rock, or feel uneven. If it moves, reposition or retighten it before regular use.
If the seat was fully removed, the reinstallation should be treated as part of the safety process, not just cleanup. This guide on how to install a raised toilet seat explains how positioning and attachment affect stability.
Cleaning is only complete when the seat is clean, dry, and secure enough for regular use.
What Cleaners Should You Avoid?
The safest cleaner depends on the seat material and the manufacturer’s instructions. In general, raised toilet seats should not be cleaned with anything that damages plastic, padding, rubber grips, or attachment parts.
Avoid:
- harsh abrasive powders
- rough scrub pads
- cleaners that damage plastic
- strong chemicals not recommended for the material
- soaking padded parts unless the product allows it
- leaving moisture trapped around clamps or hinges
Abrasive cleaners can scratch the surface, which may make the seat harder to keep clean over time. Strong chemicals may also affect rubber parts, padded surfaces, or non-slip components.
A mild soap solution or non-abrasive bathroom cleaner with a soft cloth is usually the safer starting point unless the product instructions recommend something different. After cleaning, wipe away any cleaner residue and dry the seat fully, especially around clamps, hinges, rubber contact points, and underside edges.
The goal is to clean the seat without weakening or damaging the parts that make it usable.
How Often Should a Raised Toilet Seat Be Cleaned?
Cleaning frequency depends on how often the seat is used, whether the bathroom is shared, and how easy the seat is to clean.
A practical routine is:
- wipe high-contact areas regularly
- clean handles and arms often if they are used for support
- clean the underside and attachment points during deeper cleaning
- clean more often in shared bathrooms
- clean more often after illness or visible buildup
Daily-use seats usually need more frequent surface cleaning. Deeper cleaning can be done periodically or whenever buildup becomes visible around the underside or attachment points.
A seat that is removed often for cleaning should also be checked often for stability. Repeated removal and reinstallation can change how well the seat sits if it is not aligned carefully each time.
A clean seat should still feel secure. Hygiene and stability need to be treated as part of the same maintenance routine.
When Cleaning Problems Mean the Seat May Not Be the Right Fit
Sometimes cleaning problems are a sign that the raised toilet seat is not a good match for the user, toilet, or bathroom. A seat that is difficult to clean may still function, but it can become frustrating or less practical over time.
That may happen when:
- the seat has hard-to-clean crevices
- buildup collects repeatedly around attachment points
- the seat is difficult to remove and reinstall
- cleaning causes the seat to feel unstable afterward
- the design is too bulky for the bathroom layout
Example:
A seat may provide the right height but be difficult to clean under the front edge or around the clamps. If that cleaning process makes the seat harder to resecure, the design may not be ideal for daily use.
When cleaning and stability both become recurring problems, it may help to compare different seat designs. This guide to the best raised toilet seats for seniors compares options based on support, fit, and everyday usability.
A raised toilet seat should not only help with height. It should also be manageable to clean and maintain safely.
Common Cleaning Mistakes to Avoid
Several cleaning mistakes can make a raised toilet seat less sanitary or less secure.
The most common ones are:
- Cleaning only the top surface
The underside, front lip, and contact points also need attention. - Forgetting clamps and knobs
Attachment areas can collect buildup and should stay clean enough to inspect. - Using harsh scrubbers
Rough cleaning tools can scratch plastic or damage softer parts. - Leaving the seat wet
Moisture can collect around hinges, clamps, or underside areas. - Skipping the stability check after cleaning
A seat that was removed or loosened should be checked before regular use.
Most cleaning problems happen when the seat is treated like a simple flat surface. Raised toilet seats have added parts, and those parts need to stay clean and secure.
What I Recommend
A raised toilet seat should be cleaned regularly, with extra attention to the underside, handles, clamps, knobs, and contact points around the toilet.
A practical routine is:
- wipe high-contact areas often
- deep clean the underside and attachment points when needed
- use mild, non-abrasive cleaners unless instructions say otherwise
- dry the seat fully after cleaning
- recheck stability after removal or deeper cleaning
Cleaning should support both hygiene and safe use. A seat that is clean but loose, wet, or poorly reattached is not ready for daily use.
The best routine is simple, consistent, and always ends with a quick check that the raised toilet seat still feels secure.
Final Thoughts
Knowing how to clean a raised toilet seat helps keep the bathroom more sanitary, but it also supports safer daily use. Regular cleaning makes it easier to inspect the seat, keep attachment points clear, and notice problems before they affect stability.
The top surface, underside, handles, clamps, and contact areas all matter. A complete cleaning routine should cover the parts people touch and the parts that help the seat stay secure.
A raised toilet seat should be clean, dry, and stable before it is used again.
FAQ
How often should a raised toilet seat be cleaned?
High-contact areas should be cleaned regularly, and deeper cleaning should be done periodically or whenever buildup is visible.
Can a raised toilet seat be removed for cleaning?
Many can be removed, but it depends on the design. If the seat is removed, it should be reinstalled and checked carefully before use.
What cleaner is safe for a raised toilet seat?
Mild soap or a non-abrasive bathroom cleaner is usually a safer starting point. Product instructions should always be checked for material-specific guidance.
Should the underside of a raised toilet seat be cleaned?
Yes. The underside, front lip, and contact points can collect buildup and should be included in deeper cleaning.
Do you need to recheck stability after cleaning?
Yes. If the seat was removed, loosened, or shifted during cleaning, it should be checked for rocking, movement, and secure attachment before regular use.