
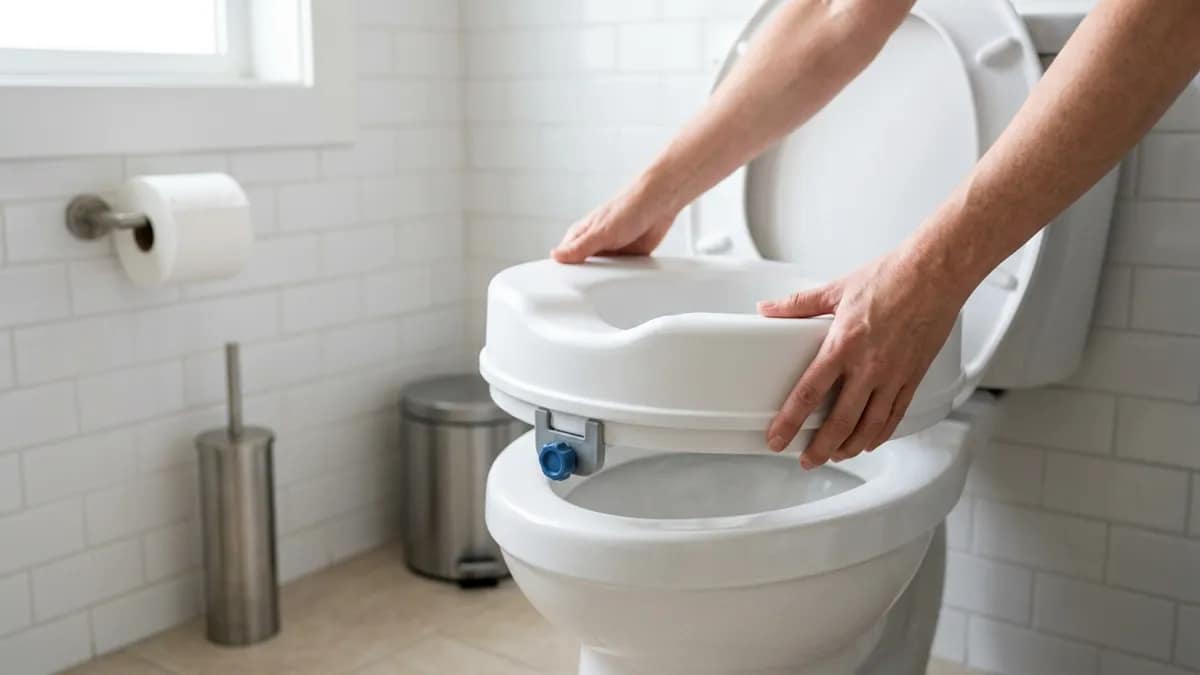
Installing a raised toilet seat correctly is essential, as small setup mistakes can lead to instability, discomfort, or safety risks during daily use. In many cases, issues like shifting, wobbling, or poor fit are not caused by the product itself—but by incorrect installation.
A properly installed raised toilet seat should feel secure, stable, and natural to use. It should not move when you sit down, shift when you adjust your position, or feel uneven.
Understanding how to install a raised toilet seat correctly helps ensure that it actually improves safety and ease of use, rather than creating new problems during everyday movement.
Disclosure: As an Amazon Associate, I earn from qualifying purchases. This post may contain affiliate links. If you purchase through these links, I may earn a small commission at no extra cost to you. I only recommend products I would feel comfortable using in my own home. Learn more.
On This Page
- What You Need Before Installing a Raised Toilet Seat
- Step-by-Step: How to Install a Raised Toilet Seat
- Can a Raised Toilet Seat Be Removed Easily After Installation?
- How to Make Sure It Fits Correctly
- Common Mistakes When Installing a Raised Toilet Seat
- How to Test Stability After Installation
- When a Raised Toilet Seat May Not Be the Right Option
- What I Recommend
- FAQ
- Final Thoughts
Quick Answer
To install a raised toilet seat, place it evenly on the correct toilet shape, secure it with the built-in clamps or locking mechanism, and check that it stays stable without shifting before regular use.
- Check your toilet shape (round or elongated) before installation
- Clean and dry the surface where the seat will sit
- Align the raised seat evenly on the bowl
- Tighten clamps or locking brackets firmly
- Test for movement before using it
While most models are designed for simple installation, the exact process can vary depending on the type of seat and how it attaches to the toilet. Taking a few extra minutes to check fit and stability makes a noticeable difference in daily use.
What You Need Before Installing a Raised Toilet Seat
Before starting the installation, it’s important to confirm that the seat and the toilet are compatible. Skipping this step often leads to loose fits or uneven positioning.
Check Toilet Shape and Size
Most toilets are either round or elongated. A raised toilet seat designed for the wrong shape may appear to fit at first but will not sit securely.
For example, placing a round seat on an elongated toilet can leave gaps at the front, which reduces stability during use.
Understand the Attachment Type
Different raised toilet seats use different mounting systems:
- Clamp-on brackets
- Locking mechanisms
- Tool-free adjustable fasteners
If you’re working with a model that doesn’t require tools, the installation process is simpler but still requires proper alignment. To understand how these designs work in practice, this guide on using a raised toilet seat without tools explains what to expect from these systems.
It is also important to confirm whether your model installs over the existing toilet seat or requires the original seat to be removed first.
This varies by design, and assuming the wrong setup can cause fit or stability problems before installation even begins.
Prepare the Toilet Surface
Before placing the seat:
- Clean the rim of the toilet
- Remove moisture or residue
- Make sure the surface is dry and smooth
Even small amounts of dirt or moisture can affect how securely the seat attaches.
Proper preparation ensures that the installation process goes smoothly and reduces the chance of movement later.
Quick reminder:
Before installing a raised toilet seat, it’s important to make sure you’re using the right type and height for your needs. Factors like toilet shape, seat elevation, and attachment style all affect how stable and comfortable the final setup will feel.
This guide on how to choose a raised toilet seat explains how to match the right model to your specific situation.
Step-by-Step: How to Install a Raised Toilet Seat
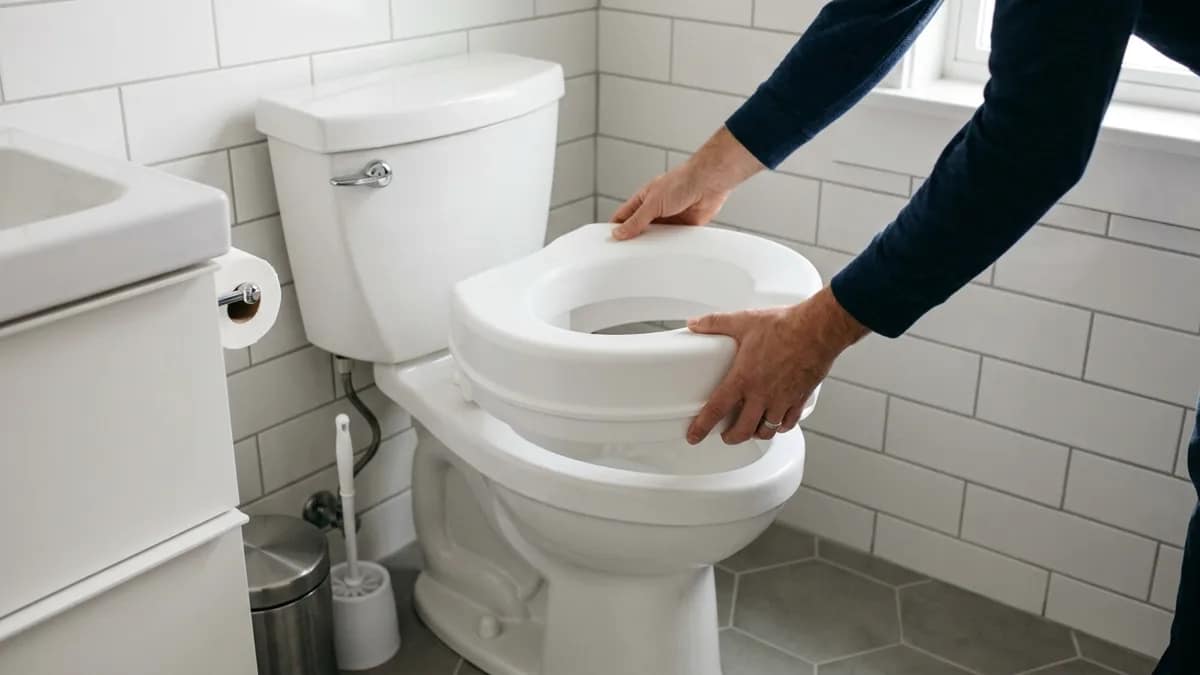
Installing a raised toilet seat correctly comes down to following a simple sequence and checking each step before moving on. Rushing through installation often leads to small alignment issues that affect stability.
Step 1: Check Toilet Shape and Seat Compatibility
Confirm whether your toilet is round or elongated and match it with the correct seat type. A mismatch here will affect everything that follows.
Step 2: Clean and Prepare the Toilet Surface
Wipe down the toilet rim and ensure it is completely dry. This helps the seat sit flat and prevents slipping.
Step 3: Position the Raised Toilet Seat Correctly
Place the seat evenly on the toilet bowl. Make sure:
- It is centered
- There are no gaps
- It sits flush against the surface
A misaligned seat may feel stable at first but can shift during use.
Step 4: Secure the Attachment or Locking Mechanism
Tighten the clamps or locking system according to the design.
- Do not overtighten to the point of strain
- Do not leave it loose
The goal is a firm, even hold on both sides.
Step 5: Test for Side-to-Side and Front-to-Back Movement
Apply light pressure in different directions:
- Side-to-side
- Front-to-back
The seat should not shift or wobble during this test.
Step 6: Do a Careful First-Use Stability Check
Sit down slowly and pay attention to how the seat feels.
- Does it stay in place?
- Does it feel balanced?
- Is there any movement under weight?
This final check confirms whether the installation is secure enough for daily use.
Can a Raised Toilet Seat Be Removed Easily After Installation?
In many cases, yes — but it depends on the type of attachment system the seat uses.
Some raised toilet seats are designed to be removed quickly for cleaning or temporary use, while others feel more fixed once installed and take a little more effort to detach correctly.
This matters most when the seat is being used for short-term recovery, shared bathroom use, or situations where the original toilet setup may need to be restored later.
If you want to know what to expect with different attachment styles, this guide on whether raised toilet seats can be removed easily explains how removable different designs really are in everyday use.
How to Make Sure It Fits Correctly
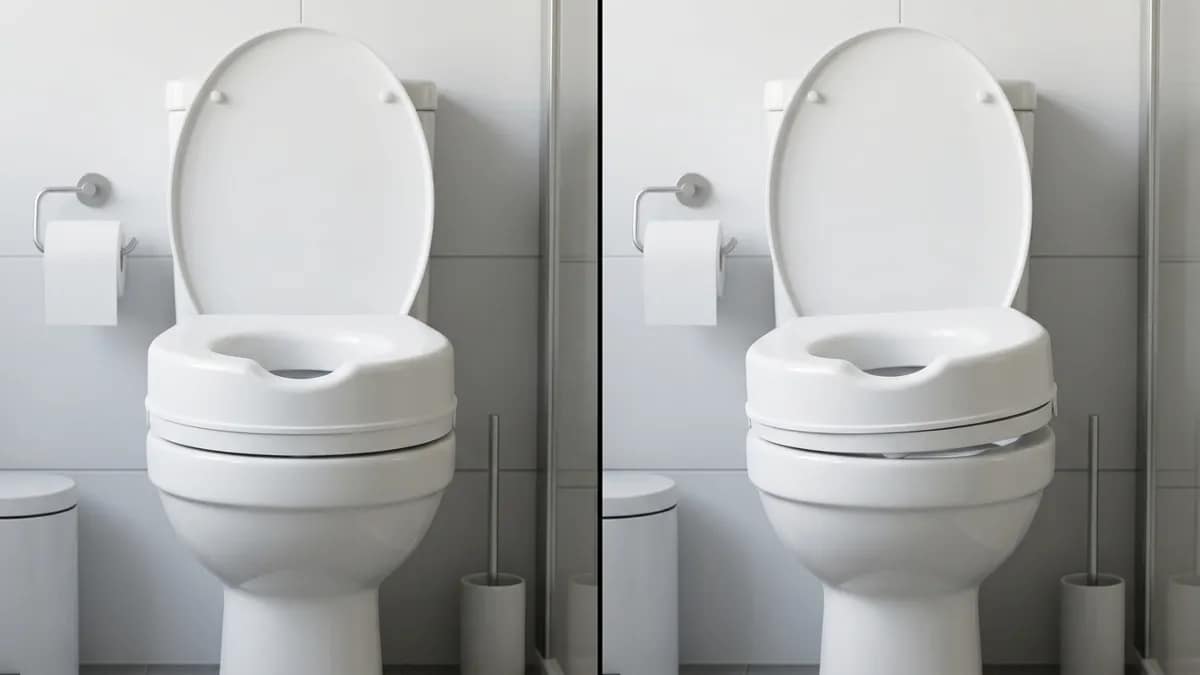
A correct fit is not just about whether the seat attaches—it’s about how it performs during use. Many installation problems come from seats that technically fit but are not properly aligned or secured.
Signs of a Proper Fit
- The seat sits flat with no visible gaps
- It does not move when pressure is applied
- It feels stable when sitting and standing
Warning Signs of a Poor Fit
- Shifting when sitting down
- Uneven contact with the bowl
- Movement when adjusting position
If the seat moves even slightly, it needs adjustment.
To understand how to fix these issues and improve stability, this guide on how to secure a raised toilet seat properly explains how to correct common problems.
A proper fit should feel solid and predictable every time you use it.
Common Mistakes When Installing a Raised Toilet Seat
Many issues with raised toilet seats come from small but important mistakes during installation, especially when how to install a raised toilet seat is not followed step by step.
Most Common Problems
- Choosing the wrong toilet shape
- Not tightening attachment points evenly
- Installing on a dirty or wet surface
- Skipping stability checks
- Assuming the seat is secure without testing
Why These Mistakes Matter
Even a small amount of movement can affect balance during use. What feels like a minor issue during installation can become a safety concern during daily movement.
Avoiding these mistakes ensures that the seat provides the support it is designed for.
How to Test Stability After Installation
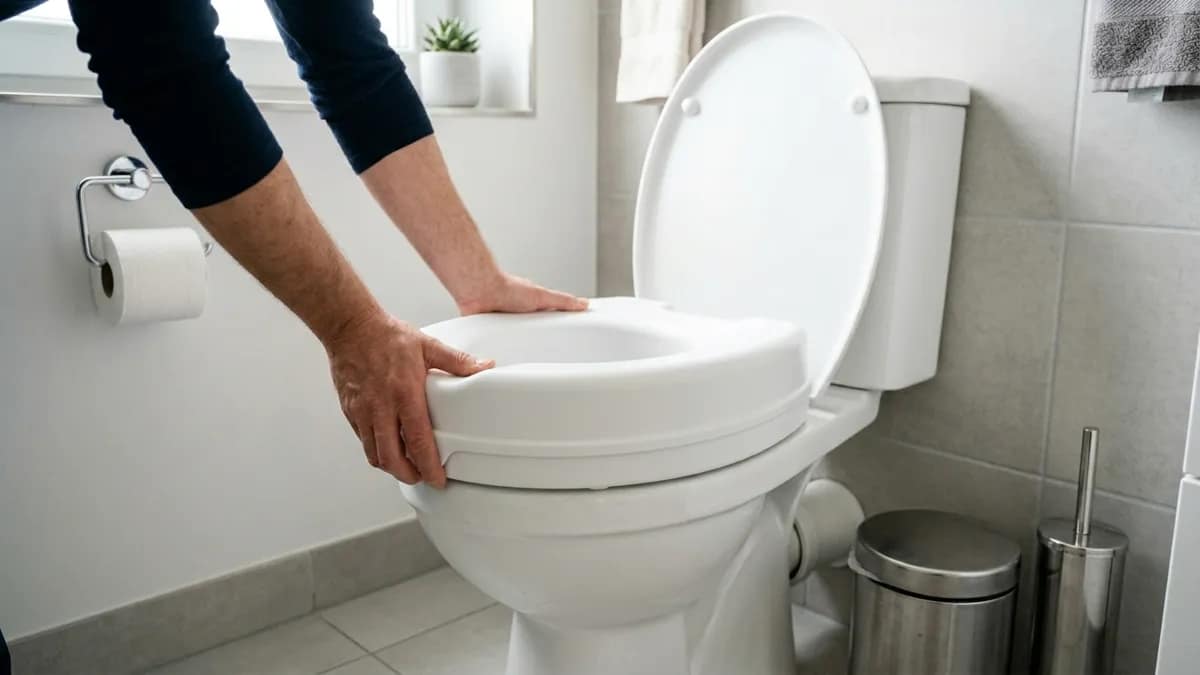
Testing stability is just as important as installation itself. A seat that feels secure at first may loosen over time if not properly checked.
How to Test
- Press down on both sides
- Shift weight slightly
- Check for movement
When to Recheck
- After first few uses
- After cleaning
- Periodically over time
If you notice any movement, adjustments should be made immediately.
Regular checks help maintain safety over time, not just during initial installation.
A guide on cleaning a raised toilet seat can also help prevent residue buildup around clamps and attachment points, which may affect fit and stability over time.
When a Raised Toilet Seat May Not Be the Right Option
A raised toilet seat improves height, but it does not provide any side support. If the main difficulty is staying stable during movement, simply raising the seat may not make the setup feel safe.
- Feeling unsteady when sitting down or standing up
- Needing something to hold onto during movement
- Shifting or adjusting position without support
In these situations, the challenge is not just how far you need to move, but how controlled that movement feels from start to finish. Without a stable support point, even a properly installed raised seat can feel incomplete.
One way to improve overall safety is to add fixed support near the toilet. Grab bars are commonly used for this purpose because they provide a reliable handhold during sitting and standing.
If you’re exploring this option, this guide on grab bars for elderly explains how they are used and when they make sense alongside other bathroom safety solutions.
In practice, if you find yourself reaching for nearby surfaces or feeling unsure during movement, adding proper support will usually make a bigger difference than increasing height alone.
What I Recommend
A raised toilet seat works best when it is properly fitted, securely installed, and matched to the user’s specific needs.
Focus on:
- Correct size and shape
- Secure attachment
- Regular stability checks
If additional support is needed, combining it with other solutions—such as grab bars—can improve overall safety.
The most important goal is to create a setup that feels stable, predictable, and secure every time it is used. Correct fit, firm attachment, and regular rechecks matter more than speed of installation.
If the seat still feels unstable or doesn’t fit well, it may be worth reviewing different designs and attachment styles. This guide to the best raised toilet seats for seniors explains how different models perform in real use.
FAQ
Do you need tools to install a raised toilet seat?
Many models are tool-free, but some may require basic adjustments depending on the design.
Can a raised toilet seat fit any toilet?
No, you must match the seat to the toilet shape (round or elongated).
How do you know if it is installed correctly?
It should not move or wobble when pressure is applied.
Should you remove the existing toilet seat first?
Some models require removal, while others attach on top.
What should you do if the seat moves?
Recheck alignment and tighten the attachment points immediately.
Final Thoughts
Installing a raised toilet seat correctly is essential for both safety and comfort. Small details like alignment, surface preparation, and proper tightening can make a significant difference in how the seat performs.
A stable setup should feel secure every time you use it, without movement or hesitation. Taking the time to install and test it properly ensures that it delivers the support it is meant to provide.
