
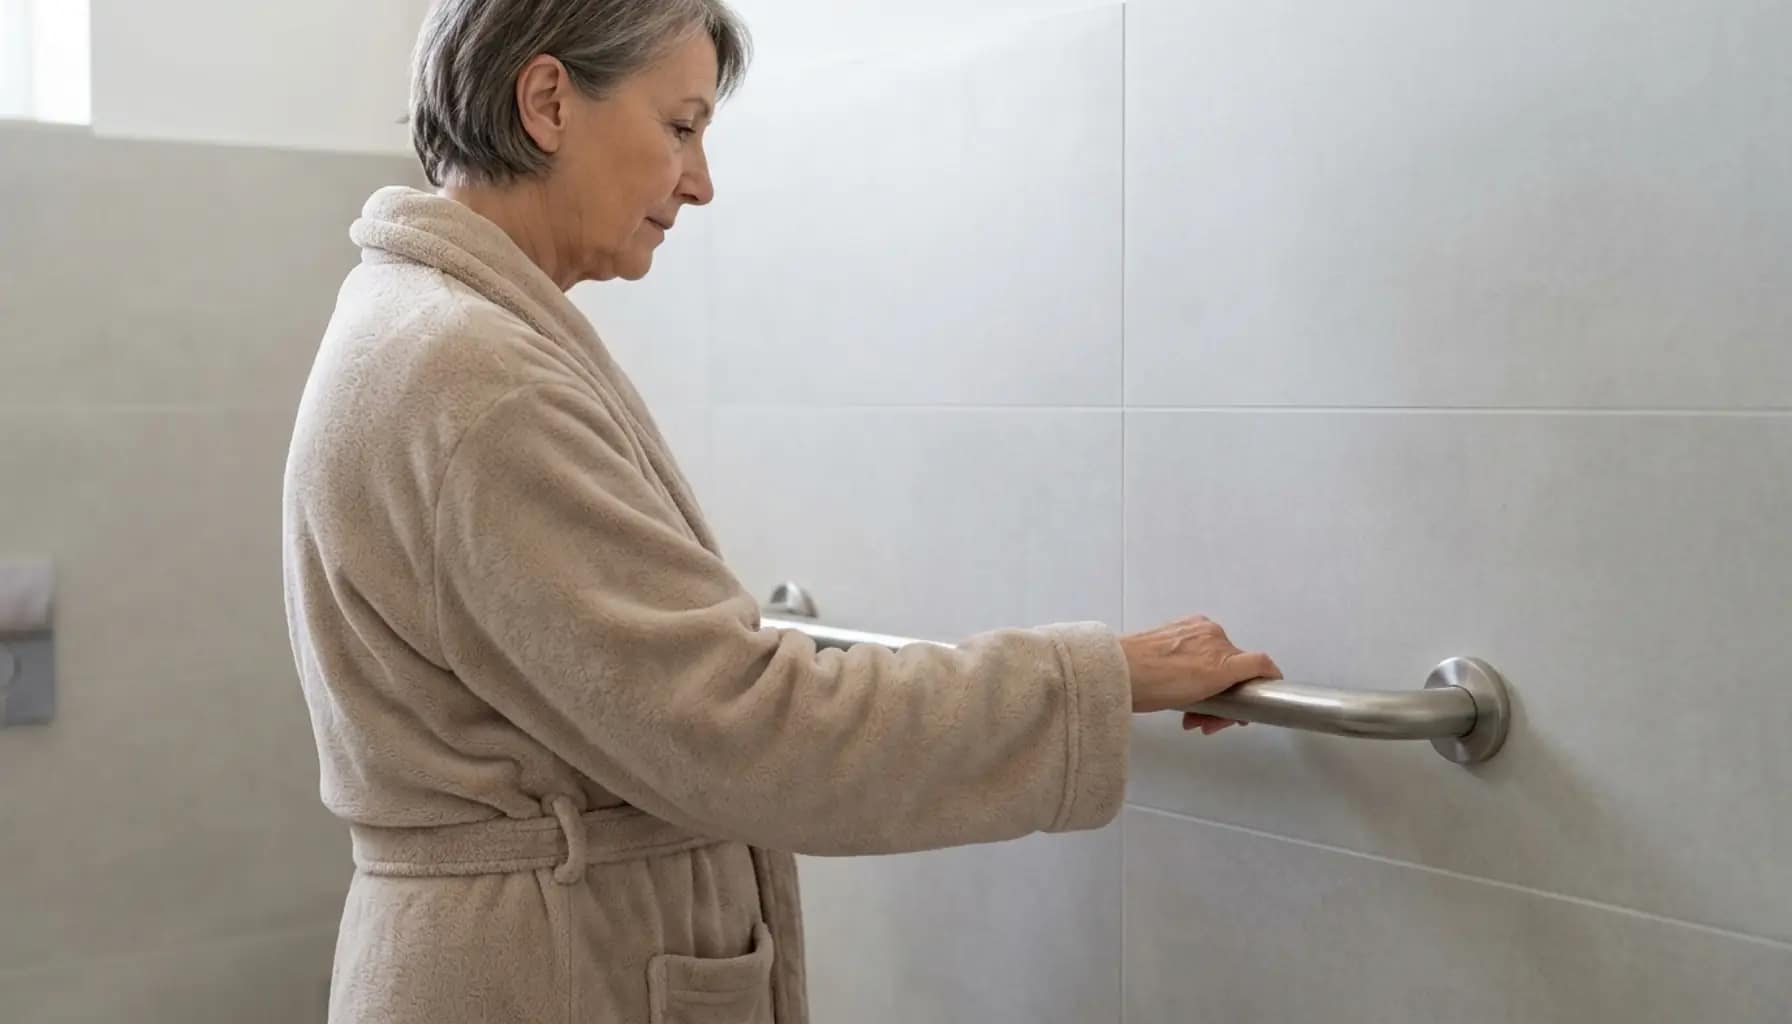
Grab bar placement height guidelines recommend installing grab bars between 33 and 36 inches from the floor, with adjustments based on user height, mobility, and bathroom layout.
Installing a grab bar may seem straightforward at first, especially when standard measurements like 33 to 36 inches are commonly recommended.
However, proper placement depends on how grab bars are used during real movements.
If you’ve been searching for grab bar placement height guidelines, you’re already asking the right question.
The goal is not just to follow a standard, but to ensure the grab bar provides effective support during real use.
Disclosure: As an Amazon Associate, I earn from qualifying purchases. This post may contain affiliate links. If you purchase through these links, I may earn a small commission at no extra cost to you. I only recommend products I would feel comfortable using in my own home. Learn more.
On This Page
- Why Grab Bar Height Matters More Than You Think
- Standard Grab Bar Height Guidelines for Bathrooms
- How to Choose the Right Grab Bar Height for Your Situation
- Grab Bar Height Guidelines for Showers
- Grab Bar Height Guidelines for Toilets
- Grab Bar Height Guidelines for Bathtubs
- When to Adjust Grab Bar Height (Real-Life Factors)
- Common Height Mistakes to Avoid
- A Simple Way to Test Grab Bar Height Before Installing
- What I Recommend
- FAQ
- Final Thoughts
Quick Answer
Grab bar placement height guidelines typically recommend installing grab bars between 33 and 36 inches from the floor, based on ADA standards and common user reach.
- Works well for most standing users
- Aligns with natural hand position for balance
- Applies to showers, toilets, and bathtubs
- May require slight adjustment based on user height or mobility
This range should be used as a starting point rather than a strict rule, since the most effective grab bar height is where the hand naturally reaches during typical use.
For a visual breakdown of how these heights apply in real layouts, see grab bar placement diagram.
Why Grab Bar Height Matters More Than You Think
Grab bar height directly affects how stable and effective the support feels during real movement.
If the bar is too high, you end up reaching upward, which actually reduces your stability. Your arm is extended, your center of balance shifts, and the support feels weaker.
If it’s too low, you have to bend or adjust your posture in an unnatural way. That creates hesitation—and hesitation is exactly what you want to avoid in slippery environments.
The best height is where your hand naturally lands when your balance shifts. That’s when the grab bar becomes almost automatic to use.
Standard Grab Bar Height Guidelines for Bathrooms
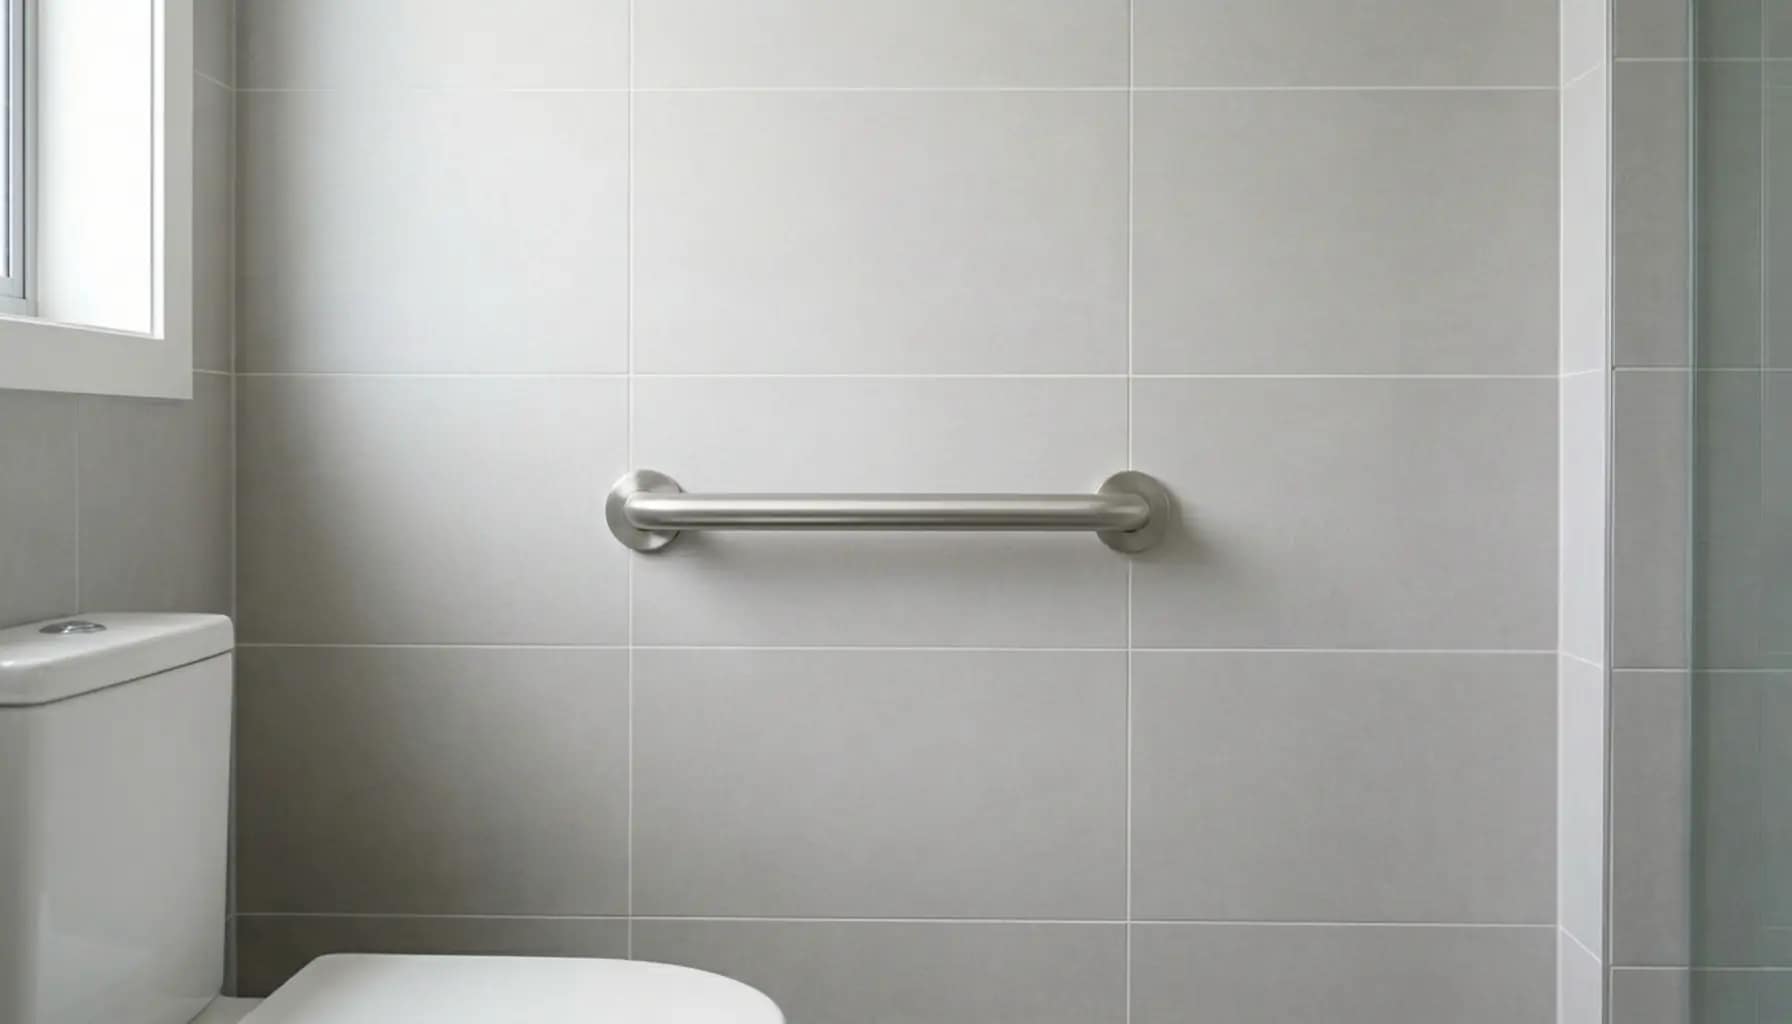
When you look at most grab bar placement height guidelines, you’ll see the same general rule repeated:
33–36 inches from the floor to the top of the bar
This works well for:
- Standing users
- Average adult height
- Most residential bathrooms
But not all grab bars are horizontal.
Vertical grab bars don’t follow the same strict measurement. Their placement depends more on reach and movement, especially near entry points like showers or bathtubs.
Keeping multiple grab bars at similar heights can create a more predictable environment. That consistency makes it easier for users to rely on them without hesitation.
How to Choose the Right Grab Bar Height for Your Situation
The ideal height depends on how the grab bar will be used, especially during standing, sitting, and transitional movements.
For standing support, such as in showers or near sinks, the standard 33–36 inch range works well for most users.
For seated movements, such as using a toilet or shower chair, slightly lower placement may provide better leverage.
Instead of relying on a fixed number, it is more effective to identify where support is needed during real movement and adjust accordingly.
At the same time, understanding how many grab bars a bathroom needs can help you create a more complete and balanced setup.
Grab Bar Height Guidelines for Showers
Showers are one of the most important areas to get right when applying grab bar placement height guidelines.
For horizontal grab bars, placing them around 33–36 inches usually works best. This aligns with waist level for most people and provides support while standing or turning.
But showers often need more than one type of support.
A vertical grab bar near the entrance is extremely helpful when stepping in or out. Instead of a fixed height, it should be positioned so the user can grab it comfortably during that transition.
If the person uses a shower seat, the height may need to be lower. Sitting changes everything, and the bar should support that movement instead of forcing an awkward reach.
To better understand how placement works within a full shower layout, see where to place grab bars in a shower.
Grab Bar Height Guidelines for Toilets
Toilet grab bars are primarily about leverage and controlled support during standing and sitting.
The most common placement is a horizontal bar beside the toilet at around 33–36 inches.
This height allows the user to push down while standing up, which is the movement that requires the most support.
If the bar is too high, it becomes harder to apply downward force. If it’s too low, it doesn’t provide enough lift assistance.
A practical approach is to simulate the movement before installation to identify where support is most naturally needed.
Grab Bar Height Guidelines for Bathtubs
Bathtubs involve more complex movement than showers.
You’re stepping over an edge, shifting weight, and often lowering yourself into a seated position. That means height needs to support multiple motions.
A vertical grab bar near the tub entry should be reachable before stepping over. This is one of the most important placements for safety.
Inside the tub, a horizontal bar at around 33–36 inches helps with balance while standing or adjusting position.
In many real-world setups, using two grab bars works better than trying to rely on one. Each bar supports a different part of the movement.
When to Adjust Grab Bar Height (Real-Life Factors)
This is where standard guidelines need to be adjusted for real-world use.
User height plays a big role. A taller person may naturally reach higher, while a shorter person benefits from slightly lower placement.
In practice, this often means adjusting standard guidelines—or reviewing recommendations tailored for taller seniors and shorter seniors—to achieve a more comfortable and effective setup.
Mobility level matters too. Someone with limited strength or joint issues may need a bar positioned for better leverage.
Hand dominance also matters. Most people reach with their stronger hand, so placement should reflect that.
And then there’s future planning. Even if someone doesn’t need full support today, placing the bar slightly more strategically can make it more useful later.
Common Height Mistakes to Avoid
Several height-related mistakes appear repeatedly during grab bar installation.
Installing too high is probably the most common. It may appear correct visually, but it is often less effective in practice.
Installing too low is less common but still problematic. It forces awkward movement and reduces effectiveness.
Skipping the testing phase is another big one. Even a quick test with a temporary object can help you find the right height.
And finally, focusing only on numbers instead of usability is where most issues begin. The goal isn’t to hit a perfect measurement—it’s to create a setup that feels natural.
To avoid common installation errors, reviewing common grab bar installation mistakes can help improve placement accuracy.
A Simple Way to Test Grab Bar Height Before Installing
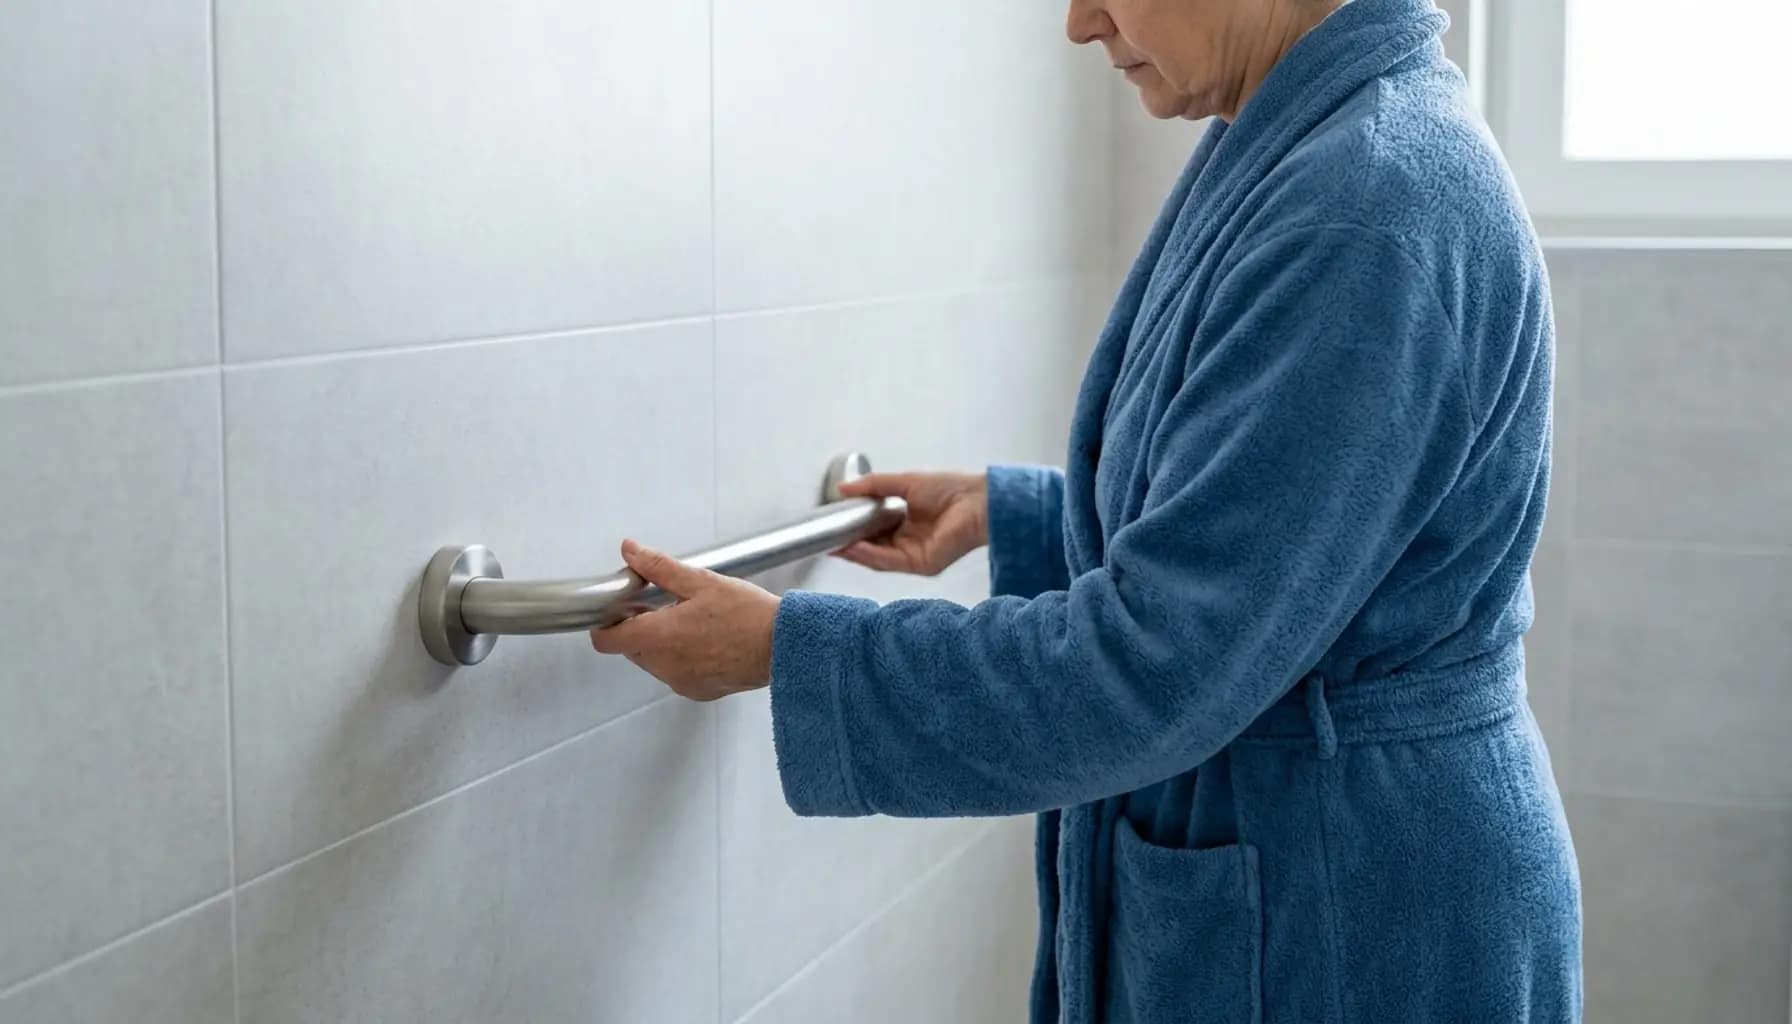
Testing grab bar height before installation can help prevent placement errors.
Before installing anything, grab a broom handle or a stick and hold it at different heights against the wall. Then simulate real movements—stepping, turning, standing up.
Notice where your hand naturally reaches when you feel slightly off balance.
Repeat this process several times. If your hand lands in the same area consistently, it is a strong indicator of the correct height.
It takes a few extra minutes, but it can save you from reinstalling later.
What I Recommend
A practical approach is to start with the 33–36 inch guideline and adjust slightly based on the user’s height and mobility needs.
Wall-mounted grab bars with a textured grip provide reliable support in wet environments.
Testing placement before installation helps ensure the grab bar supports natural movement.
Choosing the right product and positioning it correctly both play an important role in overall safety.
If you’re still deciding what type to install, reviewing the best grab bars for seniors can help clarify which options work best alongside the right height and placement.
FAQ
What is the standard height for grab bars?
Typically 33–36 inches from the floor.
Should grab bars be higher for taller people?
Yes, slight adjustments can improve comfort and usability.
Can grab bar height vary by location?
Yes, different areas like showers and toilets require slightly different positioning.
Should grab bars be installed at the same height throughout the bathroom?
Not always. While many grab bar placement height guidelines suggest 33–36 inches, the ideal height can vary depending on the location. For example, shower and toilet areas may require slightly different positioning based on how the grab bar is used.
How do I know if my grab bar height is correct before installing?
A simple way to test grab bar placement height guidelines is to simulate real movements. Use a temporary object like a broom handle and check where your hand naturally reaches when standing, turning, or stepping. If it feels comfortable and natural, the height is likely correct.
Final Thoughts
Grab bar placement height guidelines provide a reliable starting point, but real-world comfort and usability determine the most effective placement.
If the grab bar feels natural to use during real movement, the placement is likely correct.
When grab bar height, placement, and product selection are aligned, the result is a safer and more reliable bathroom setup.
If you’re still unsure whether grab bars are the right solution, it’s worth understanding are grab bars safe for seniors so you can make a more confident decision.
